Menu

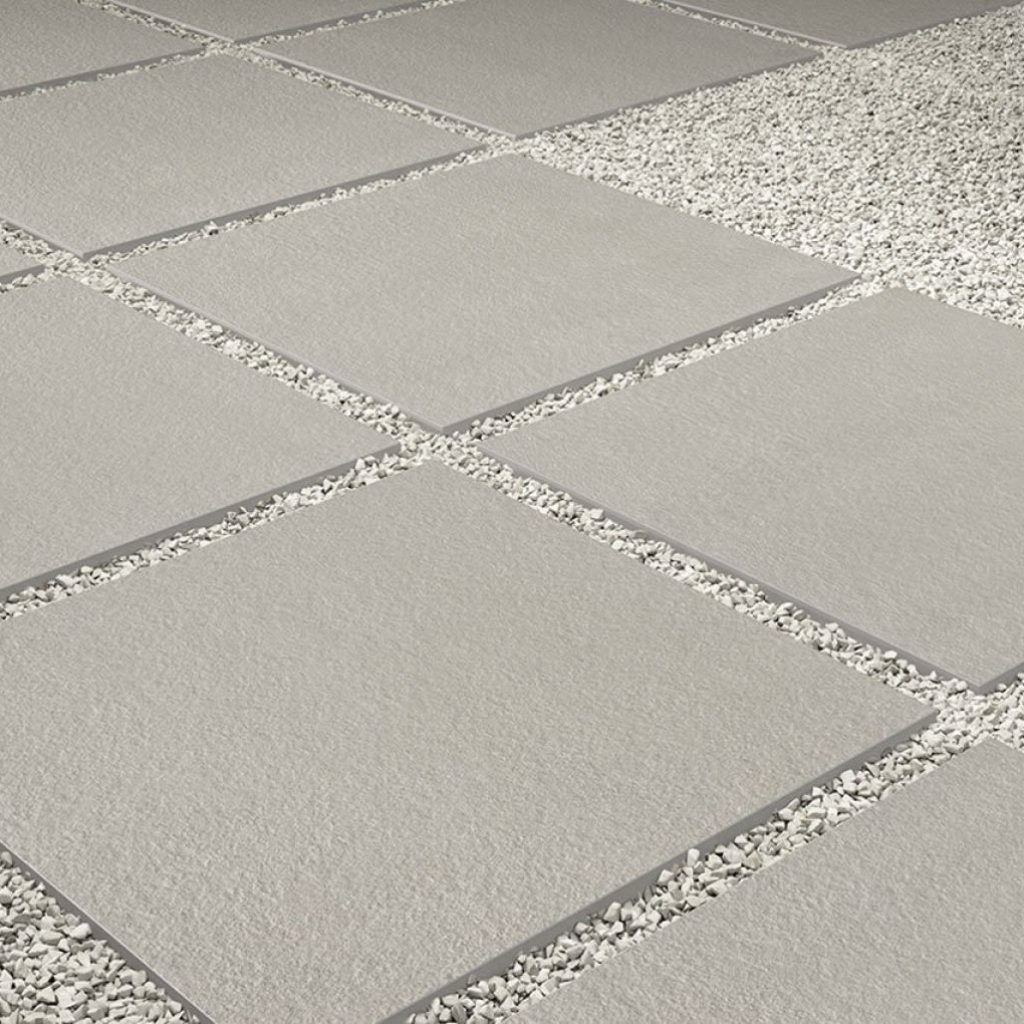
Dry laying on gravel is a practical, versatile solution that provides a contemporary effect, bringing added style to patios, paths, pedestrian walkways and courtyards and relaxation areas in general.
The key benefits are:
- Fast installation
- Easy removal and repositioning
- Cost savings, as no skilled labour is required
- Effective rainwater drainage through the open joints
- Creation of seamless surfaces, since expansion joints are not required.
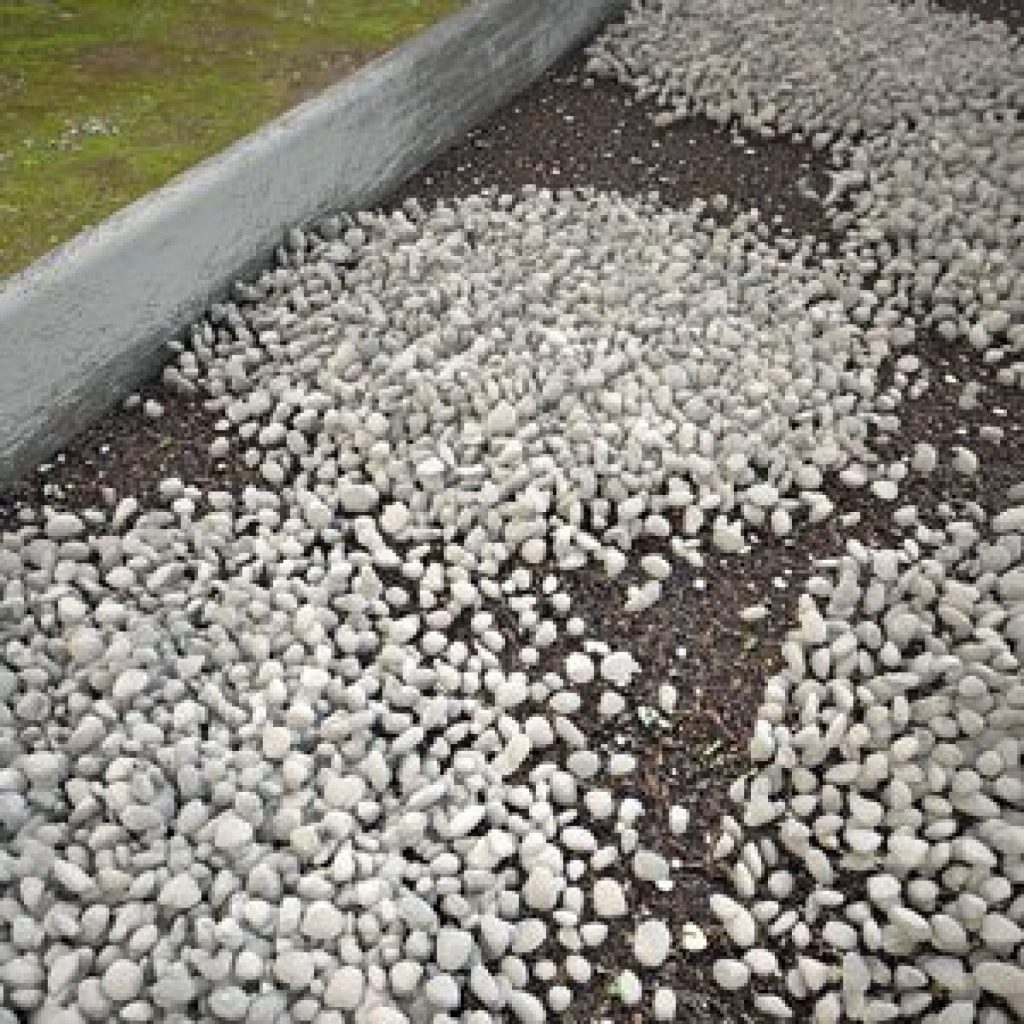
Preparing the substrate
- Laying on gravel allows the creation of a paving without a concrete substrate.
- Insert a containing kerb around the edges of the area to be paved, with edges tall and strong enough to ensure effective retention.
- Remove the surface of the ground: the depth of soil to be removed will depend on the type of terrain (loose or firm), but will be more or less from 10 to 20 cm.
- Level the bottom of the dug-out area as accurately as possible with a rake, a rule and a spirit level.
- Flatten and compact the ground for a more compact paving.
- Lay a sheet of non-woven fabric on the bottom to prevent plant growth.
- Add a layer of about 10 cm of gravel with mixed particle size (16-35 mm) for better rainwater drainage.
- Compact the substrate firmly. It should have a slope of at least 2% to ensure good drainage.
Laying surface
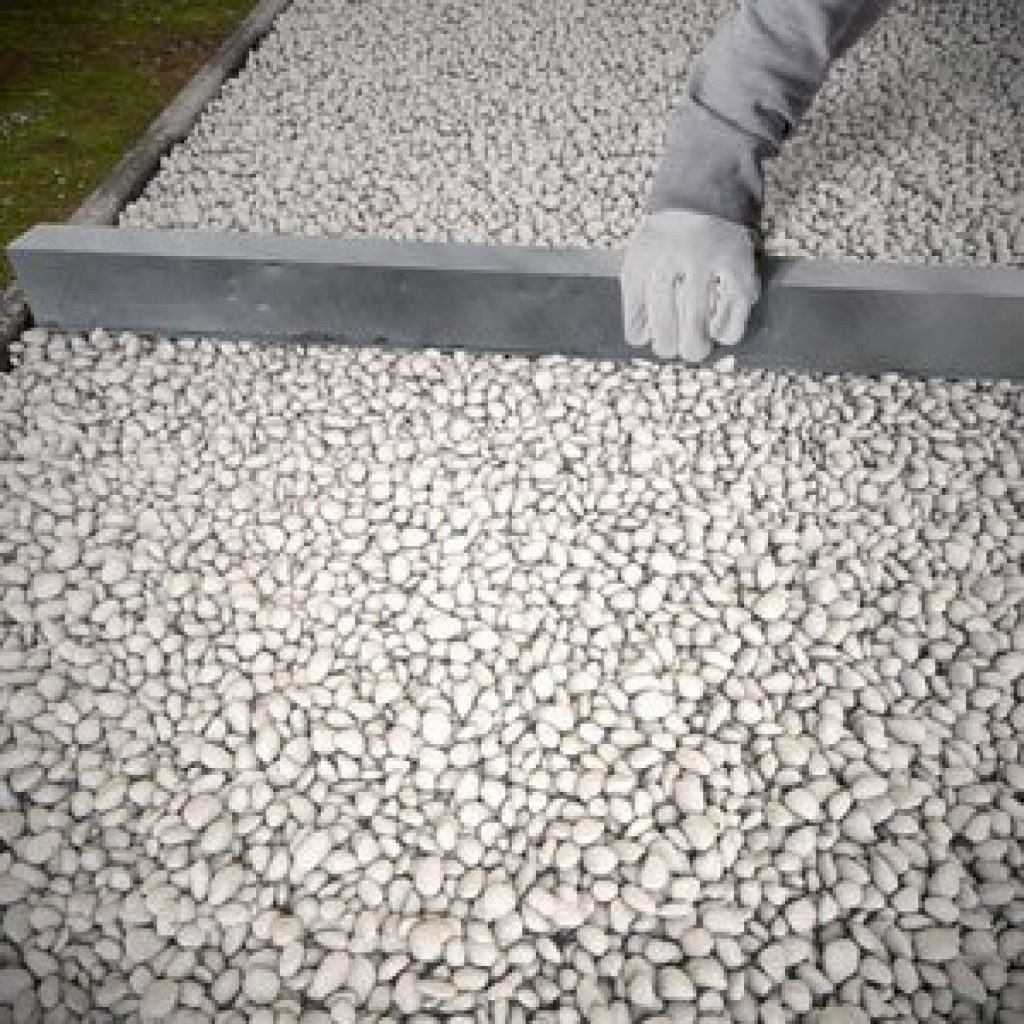
For laying on gravel, create a bed of at 10 cm of gravel with particle size 4-8 mm and level it carefully. The laying surface must be kept level throughout the process.
Laying the slabs
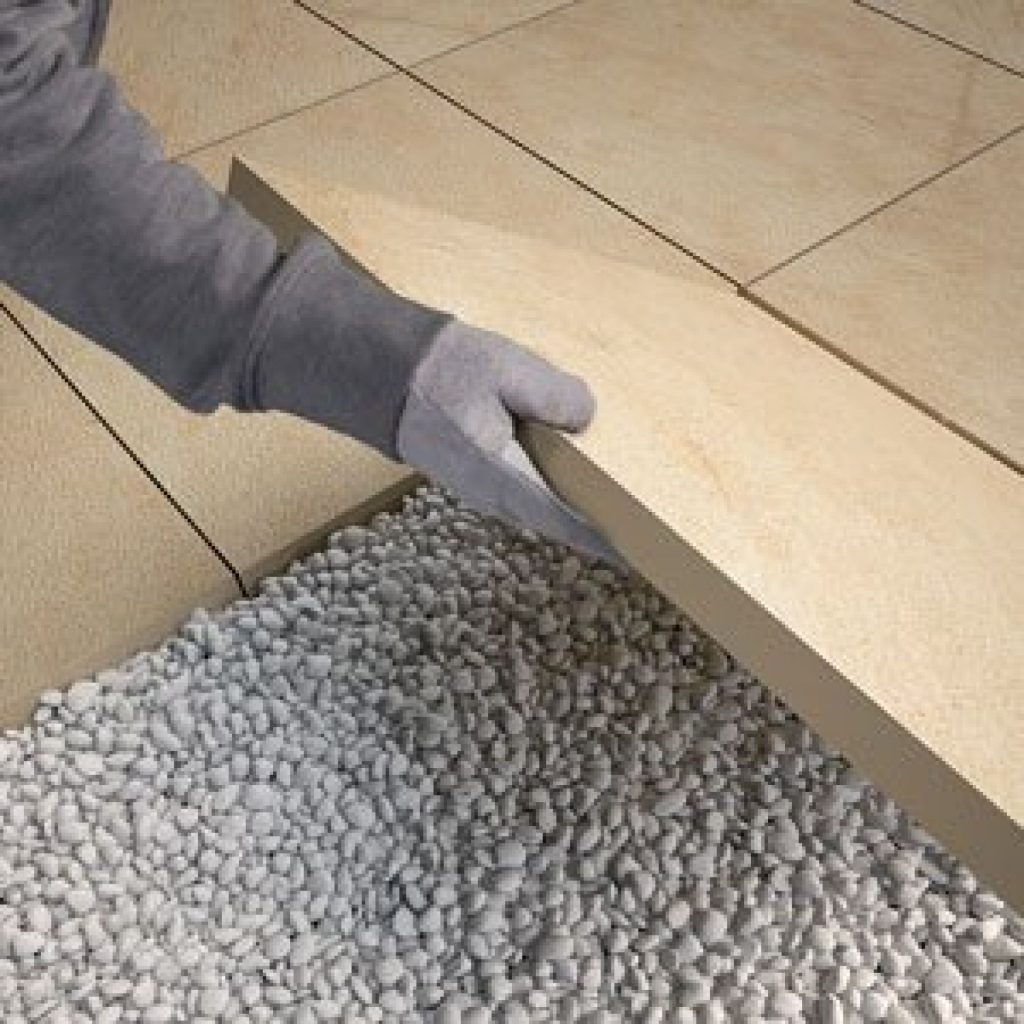
- When laying pavings, stand on the surface just laid to lay the next slabs, and so on as the job progresses.
- The alignment of the joints should be checked carefully every 5 m of progress.
- The paving must be compacted with a tamper and a (white) rubber hammer to ensure its flatness.
Joints
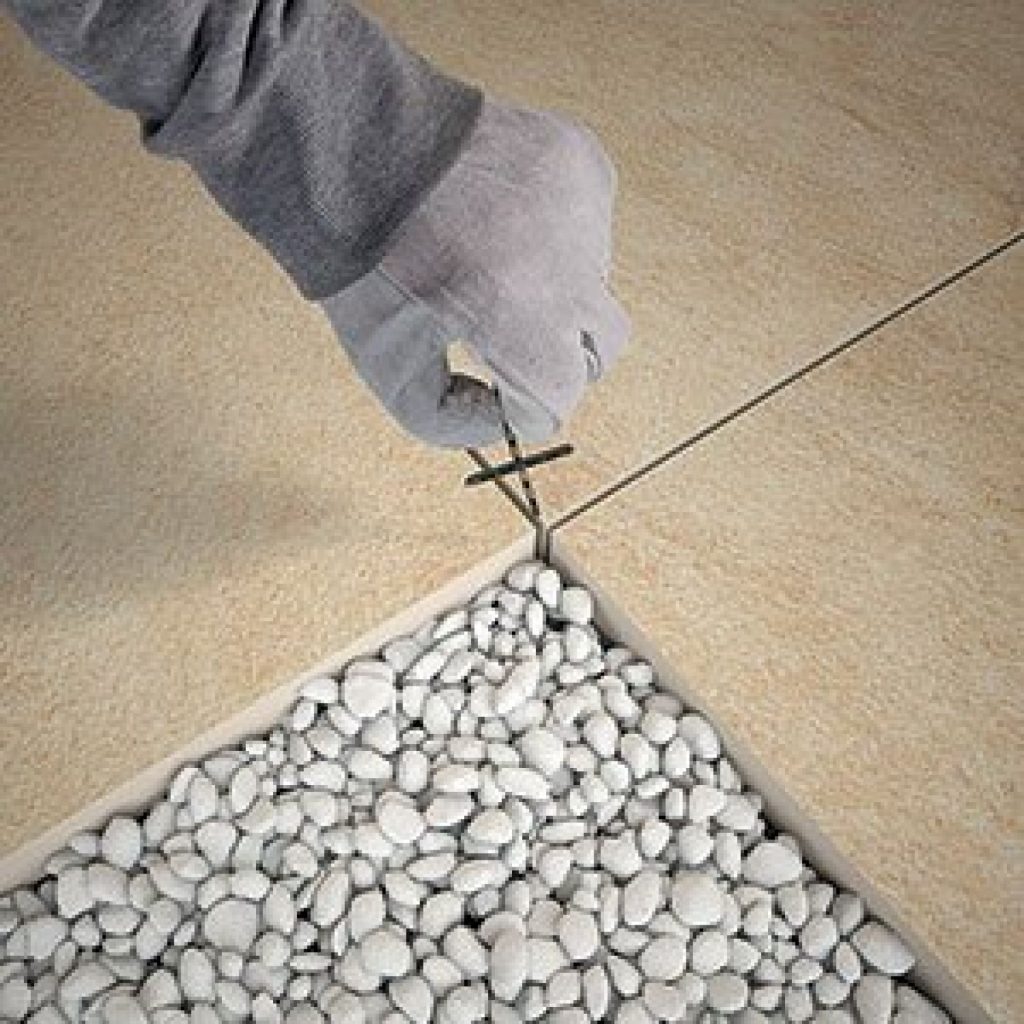
Gaps of at least 4 mm should be left between slabs, using spacers to set the correct width. Joints may be left empty or filled with fine sand, which may also contain cement for a firmer set.
Copyright © Warren Keys Isle of Man 2026
Web design & development by Scorch Isle of Man